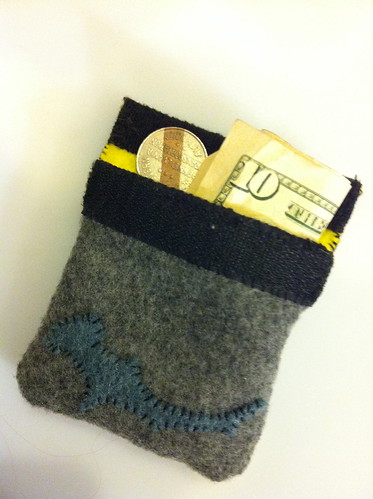
 Columnist Meghan White tries her hand at a sewing project, and uses felt to make a small pouch.
I’ve never been one for pattern making, or even using patterns for that matter. In eighth grade home economics, or whatever it was called in politically correct jargon, I was the only one who had used a sewing machine before and knew basic sewing machine maintenance. My teacher had me helping other students with sewing machine woes, and my pajama pants were hurriedly finished at the end of the marking period.
One leg was longer than the other, which led to deducted points. And no, I didn’t get any bonus points for following my teacher’s instructions to help out the other students. That said, I’ve been sort of bitter about using patterns since, and most of what I sew using sewing machines winds up being done somewhat haphazardly and as fast as possible.

That’s just using a machine. I’ve also come to realize that I am sort of useless at hand sewing. I’m not quite sure when this happened because I remember at one point I was capable of making pretty cute little stuffed animals. But now, if some sort of weird apocalypse happened and I needed to sew blankets or clothes by hand for warmth, I would probably die of either hypothermia or embarrassment.
Of course, I realized this after I decided to make and use a pattern for a felt coin purse. What would have taken me 10 minutes on a sewing machine, and with much cleaner corners, took me the entire Eagles vs. Cowgirls game–I’m sorry, Cowboys. Sure, maybe I was a little bit distracted, but if I’m being honest, my stitches are borderline atrocious.
So for the sake of this craft, I’m just going to pretend that all the visible stitches were intentional. And had I been a little bit more focused, or had access to a sewing machine, I could easily whip up a few of these coin purses for small holiday gifts.
The fun part about them is that they’re cheap and totally customizable. You could use the pattern as is, which is the perfect size for a coin purse or SEPTA token holder, because SEPTA tokens just love floating around the bottom of bags. You could churn out a bunch for gifts or you could enlarge the pattern for a more personalized gift card holder for gifts this season.
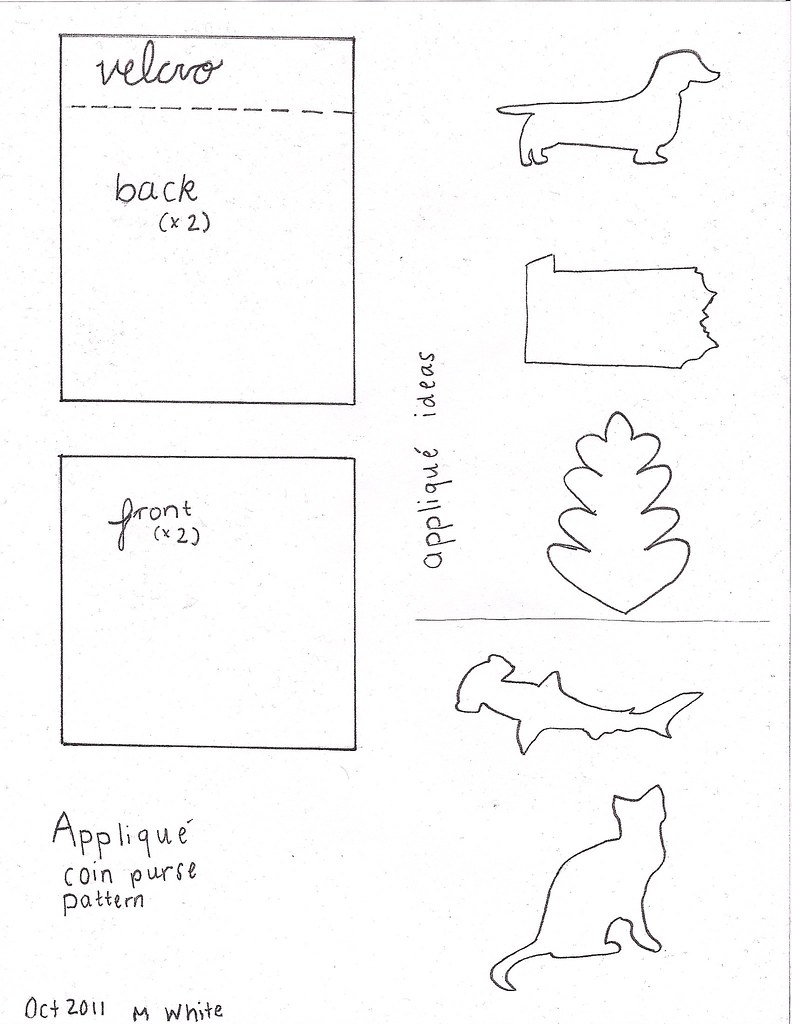
I decided to include five different appliqué patterns, which are only some of the options that you have. Don’t like cats or sharks? Sew on a bat instead. Sometimes I only think of my interests, sorry. You can sew on whatever you want, I swear I won’t be offended.
You’ll need:
– one sheet each of either two or three colors of felt (two if you want your lining to be the same color as the outside of your coin purse or the appliqué to be the same color as the lining, three if you all three parts to be different colors)
– Velcro (5/8 inches wide soft
sew on Velcro)
– thread
– needle
– pins
– scissors
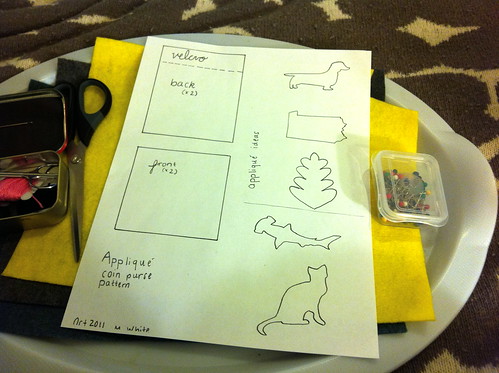
– pattern printed from temple- news.com
The total cost for this project is pretty low, and winds up being even less if you make more than one or if you already have the supplies. Both the thread and Velcro can be used on multiple projects. You can find craft felt for dirt-cheap at craft stores and as a college student you probably already have a small sewing kit lurking around somewhere. Because I had everything but the felt, this project cost me a whopping 75 cents.
The steps:
1. Select your felt. For my project I used three different colors: yellow for the lining of the bag, grey for the outside of the pouch and blue for my appliqué shark.
2. Trim the pattern. You don’t want to attach the entire pattern to the piece of felt, so trim each pattern piece 1/4 to 1/2 inch around the outline. Attach to the felt.
3. Cut out one appliqué piece, and one set of front and back pieces in the lining color, and another set of front and back pieces in the outside color.
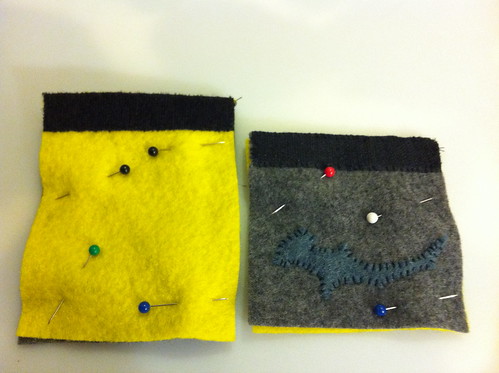
4. Pin and stitch the appliqué onto the front piece in the outside color. You can use any stitch you like, but for appliqués I tend to stick with whipstitch because I personally just don’t like blanket stitch all that much. Make sure that wherever you put your appliqué that it is not too close to the edges of the pouch.
5. Size a rough piece of Velcro to the top of the front piece of felt. No seriously, just hold it on there, rough side out, and cut at the edge. Pin it on, and whipstitch it to the felt.
6. Repeat step five using a soft piece of Velcro, attaching it to the top of the back lining. This part is marked in the pattern.
7. Pin the two front pieces together and whipstitch them together. Make sure you stay close to the edge. You’re more or less trying to tack the pieces together for some added strength.
8. Repeat step seven with the back pieces of felt.
9. Cover the rough strip of Velcro with some scrap felt. The last thing you want is your coin purse getting roughed up before you get to use it. Pin the front and back pieces of the pouch together, with the wrong (lining) side out. Make sure that both pieces of Velcro are at the top of the pouch. Whipstitch these together, starting with just below the Velcro on the front of one side of the pouch and ending just below the Velcro on the other side of the pouch. Unlike steps seven and eight, you want to have these stitches more secure, as they are forming the seam of the pouch, and any loose stitches can result in tears later on.
10. Unpin and gently flip and wiggle your new coin purse right side out. Make sure you poke out the corners to be as squared as possible, or if you’re like me try to make it look like all your stitches were even.
Now you can load your coin purse up with whatever you want, or at least whatever fits. I’m totally going to use mine for those pesky SEPTA tokens.
Meghan White can be reached at meghan.white@temple.edu.


Be the first to comment